

A true autumn silhouette for the De Noest lamp!
Get creative this autumn and make a beautiful autumn silhouette for De Noest's silhouette lamp. With Ilona Gerretsen Barata's handy step-by-step plan, it's almost impossible to go wrong. And to make it even easier for you, all the necessary supplies can be found in the webshop!
Supplies
- Sturdy photo paper, choose brown or black for more contrast or opt for a beautiful colour!
- Glue (stick or liquid)
And of course, De Noest's beautiful silhouette lamp, if you don't already have it ☺️
Method
Step 1
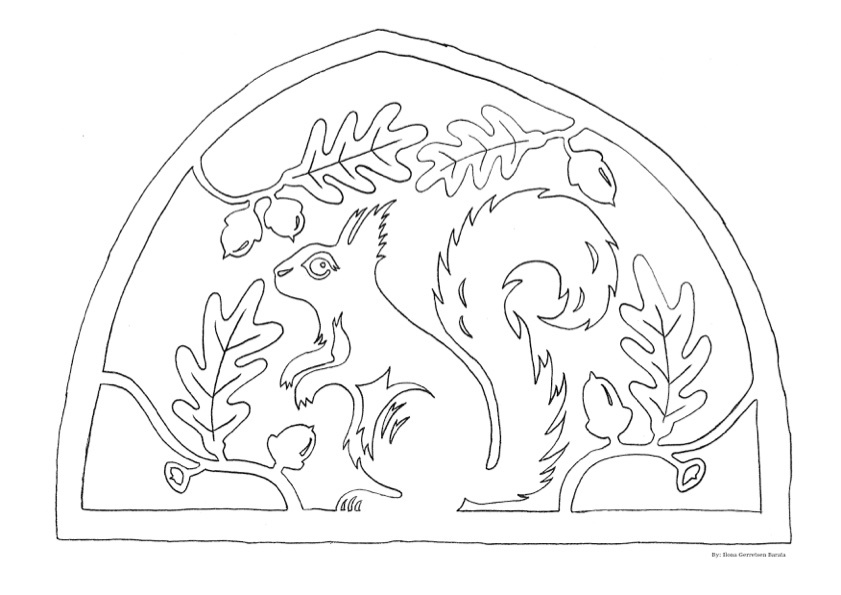
Download and print the PDF image below (or create your own design, of course!). Make sure to choose A4 paper size and print at actual size (do not scale). Glue the print onto the cardboard so you can cut out the shape. The side with the print is the back, the cardboard is the front.
Step 2
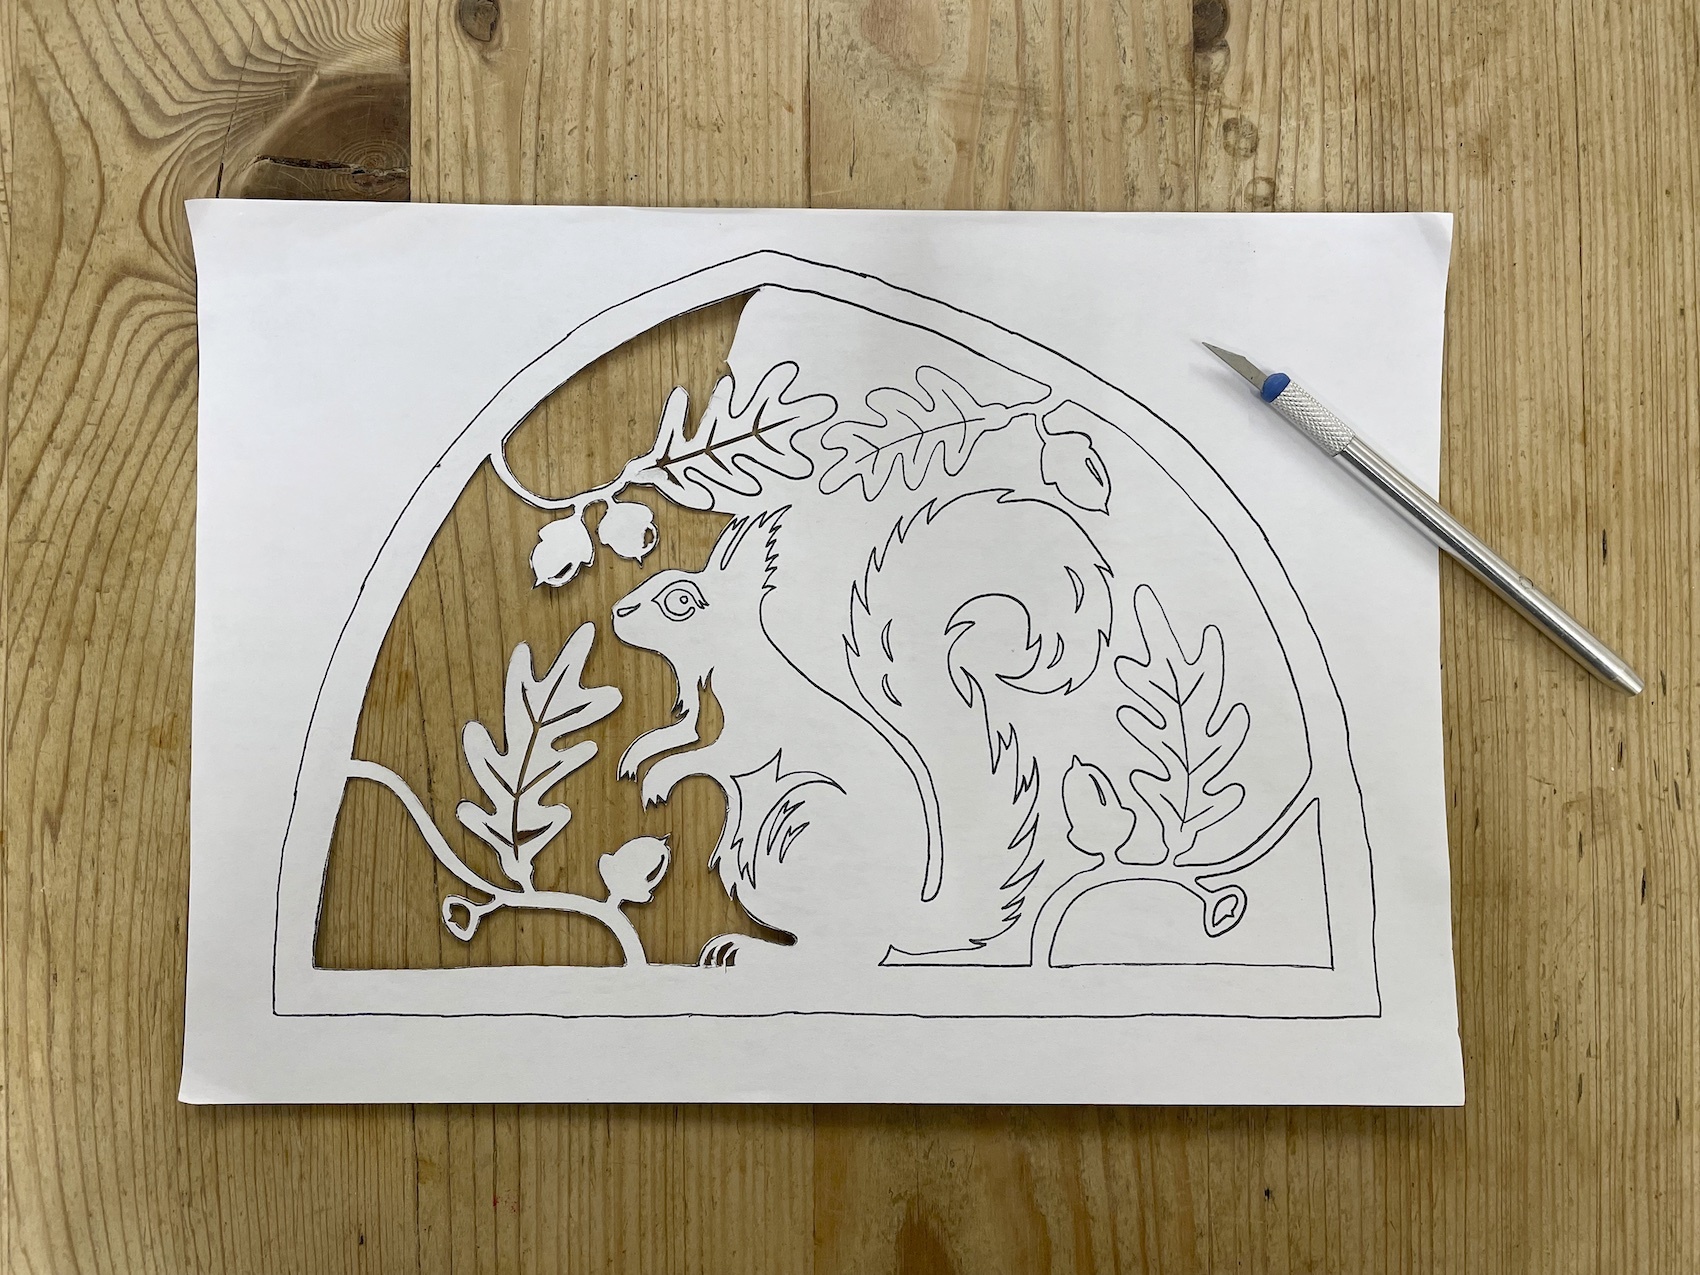
Cut out the silhouette according to the example. Wait until the last step to remove the space around the illustration, so that the whole remains a bit sturdier during cutting.
Step 3
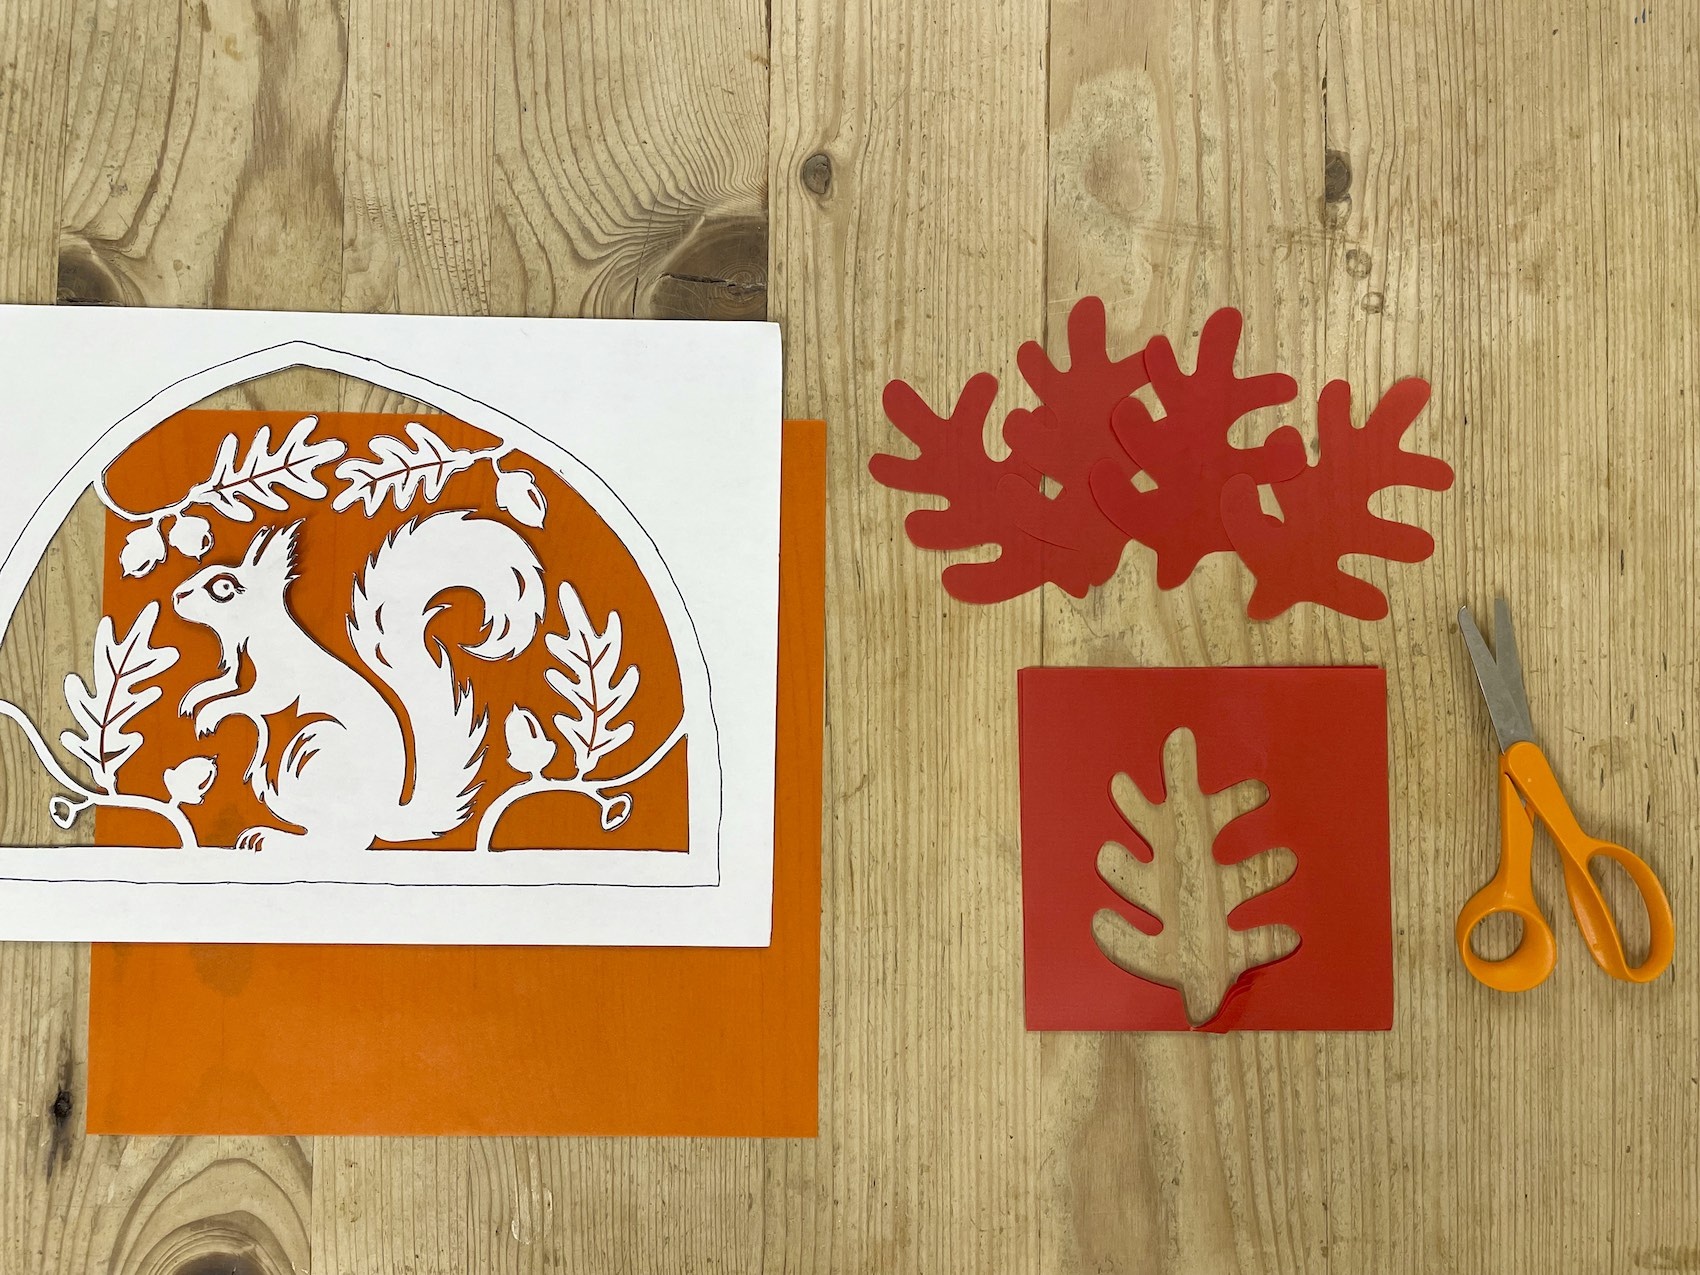
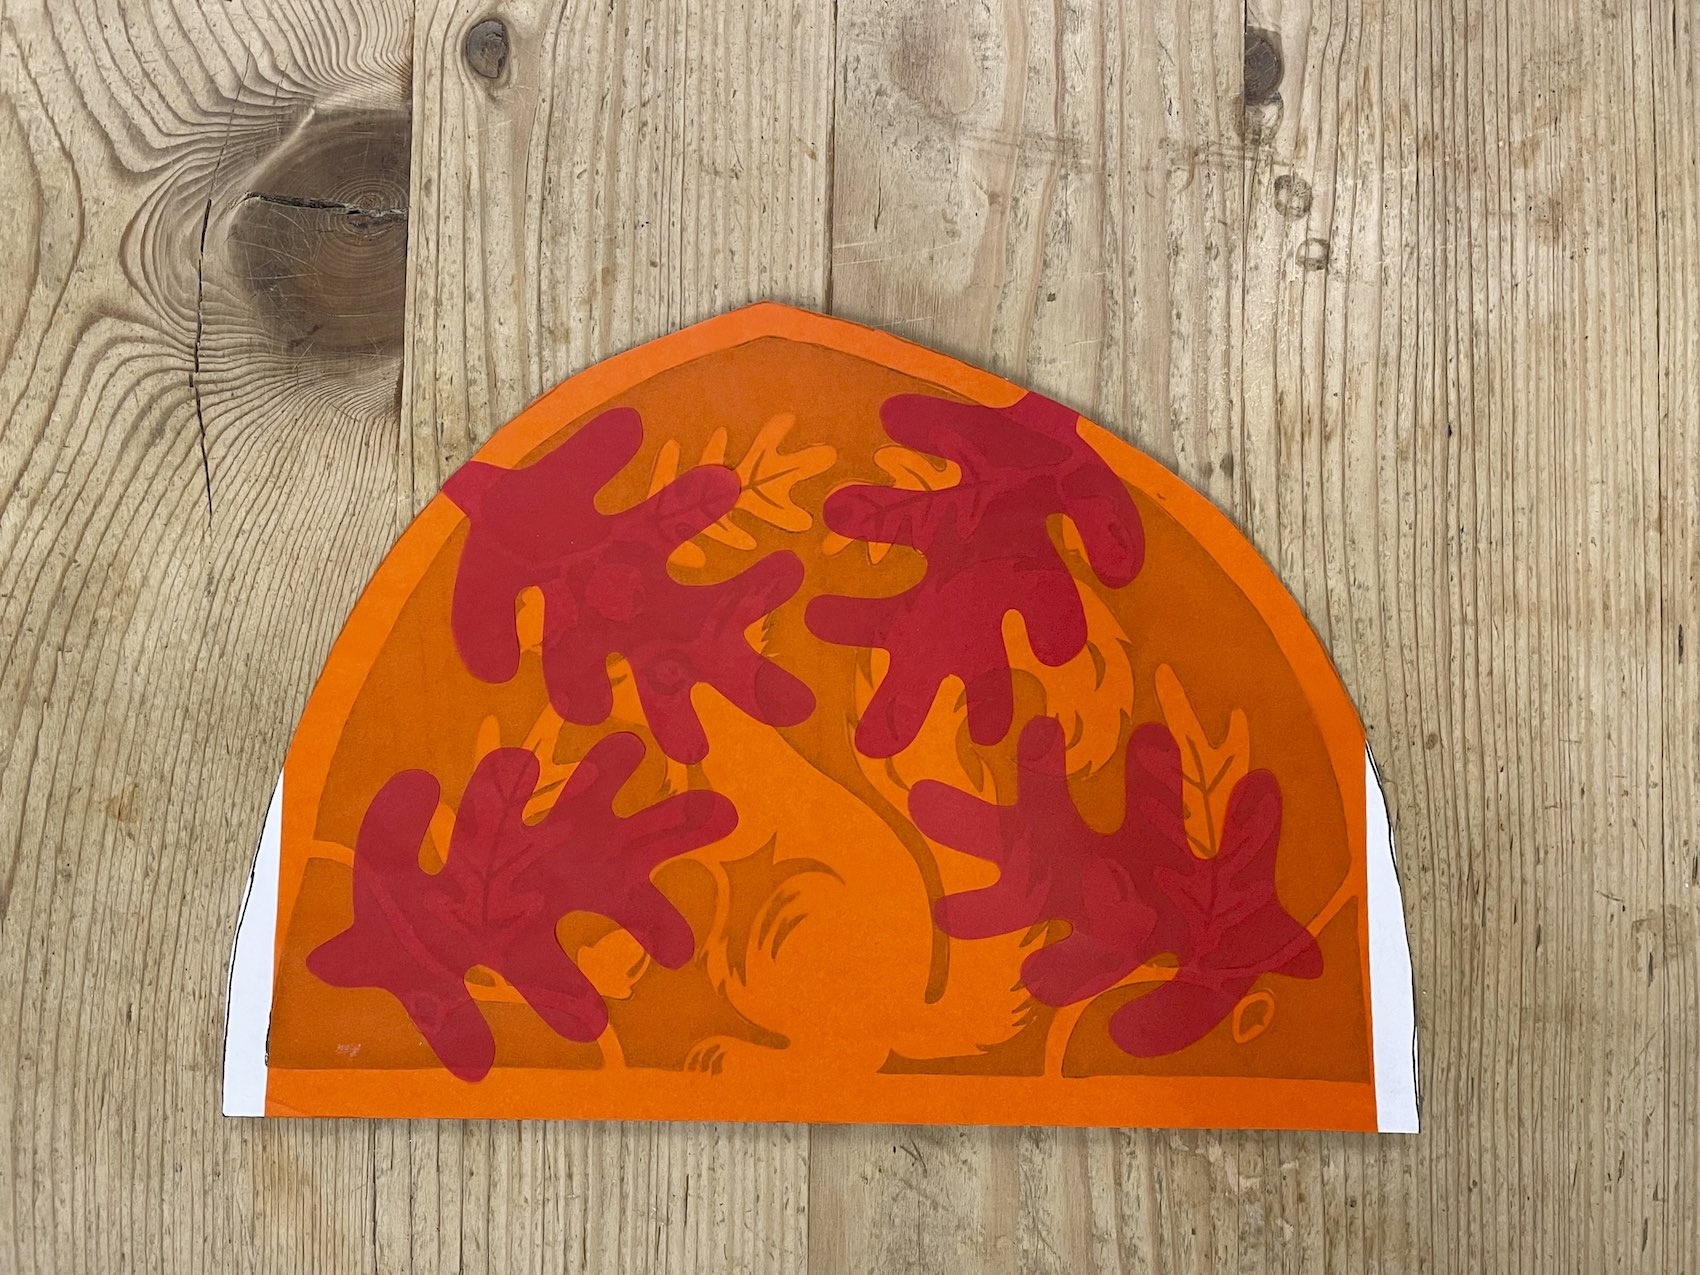
Glue the transparent paper in multiple colours, shapes, and layers to the back for a beautiful and warm, translucent effect. In this example, oak leaves were also added. To get four identical shapes, fold a sheet of transparent paper twice - this way you only need to cut once.
Step 4
Cut out the outer space around the illustration.
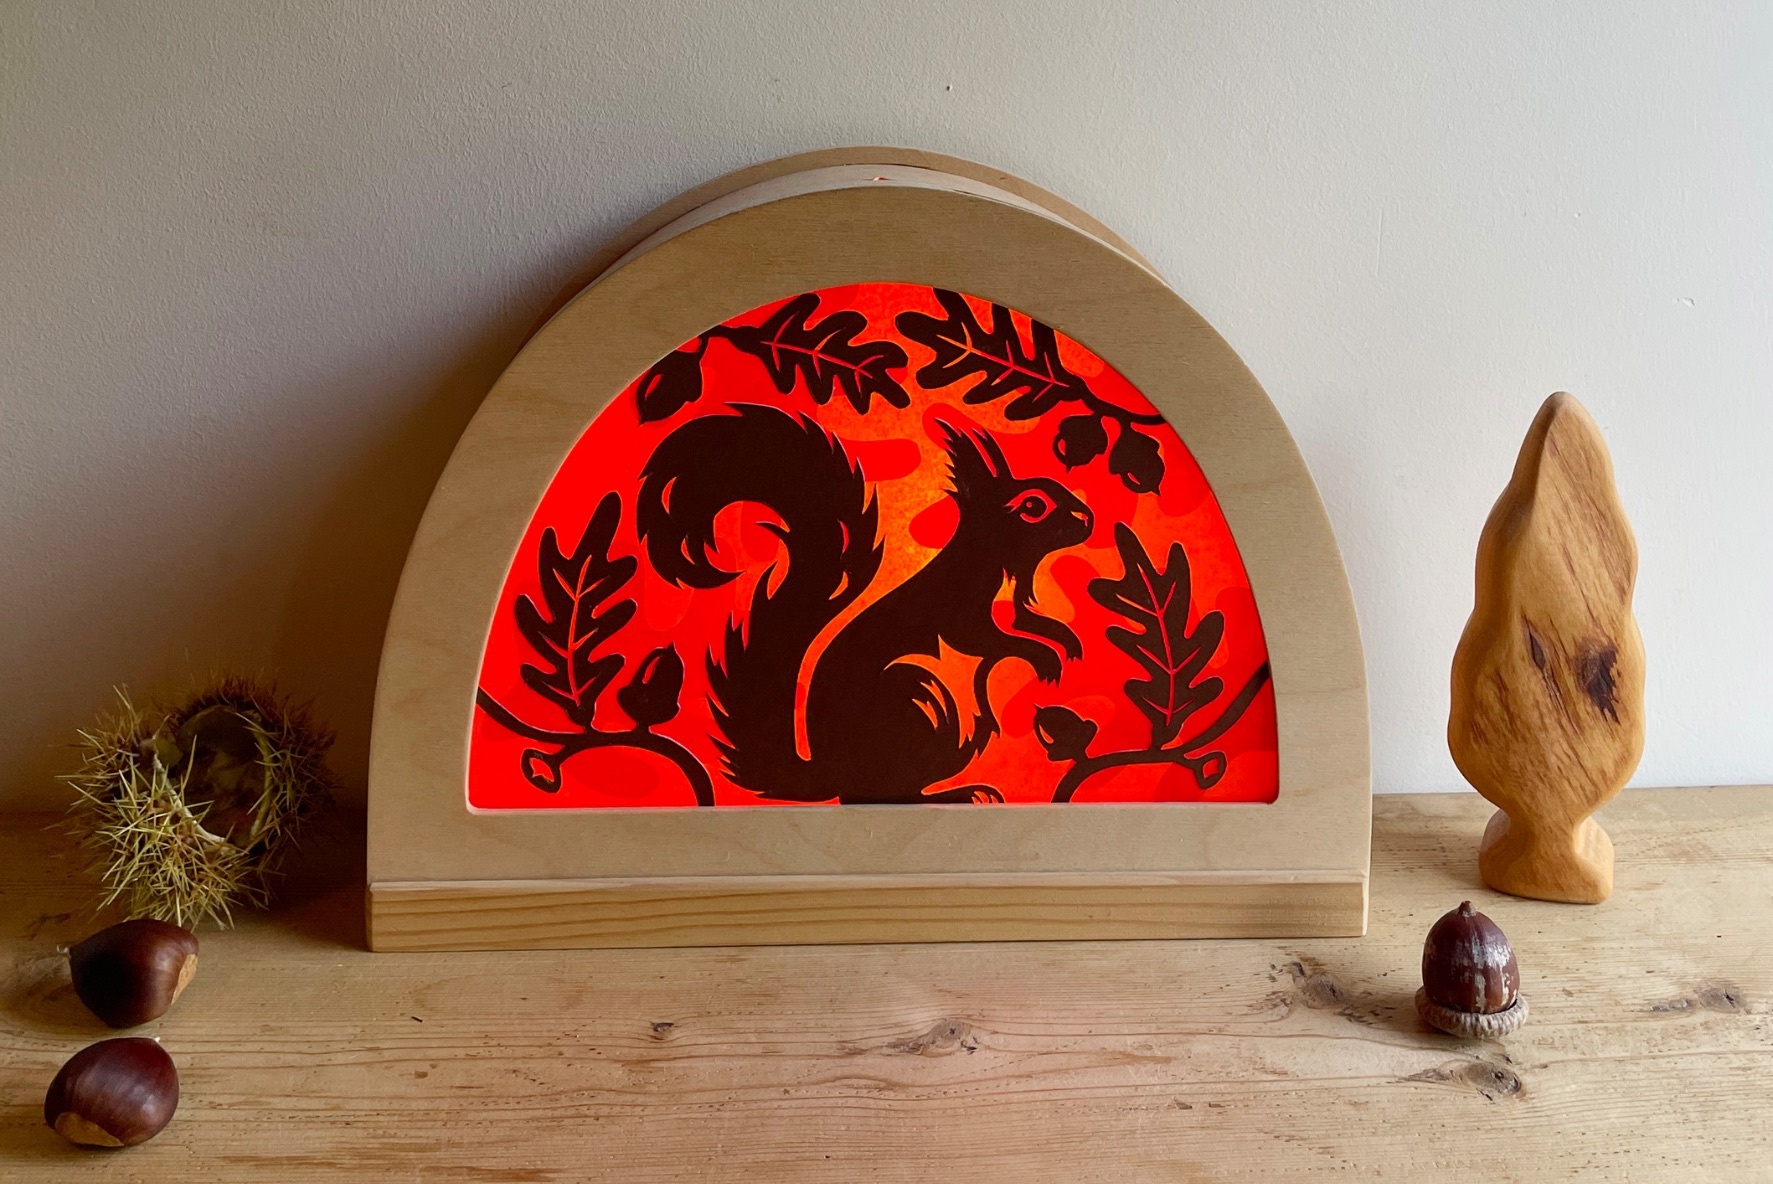
This is what the final result looks like after you've slid your homemade silhouette into the lamp and turned on the light!
Have fun making this DIY!
Disclaimer: it is, of course, a lamp that, depending on the type of light source, may become warm in combination with paper/cardboard. We therefore recommend using an LED light.